V60 Beginner Guide: One Simple Recipe for Consistent Pour-Over Coffee
Everything a first-time V60 user needs in one place: what to buy and what you can keep, how to set grind, water, and ratio, and one repeatable recipe you can brew every morning.

Why the V60 is a good first pour-over brewer
The V60 is a cone with spiral ribs and one large hole in the bottom. Nothing about it meters the water for you, which sounds like a disadvantage until you are trying to learn. Because the brewer holds nothing back, the cup changes when you change the grind, the pour, or the timing, and you can hear and see what you did.
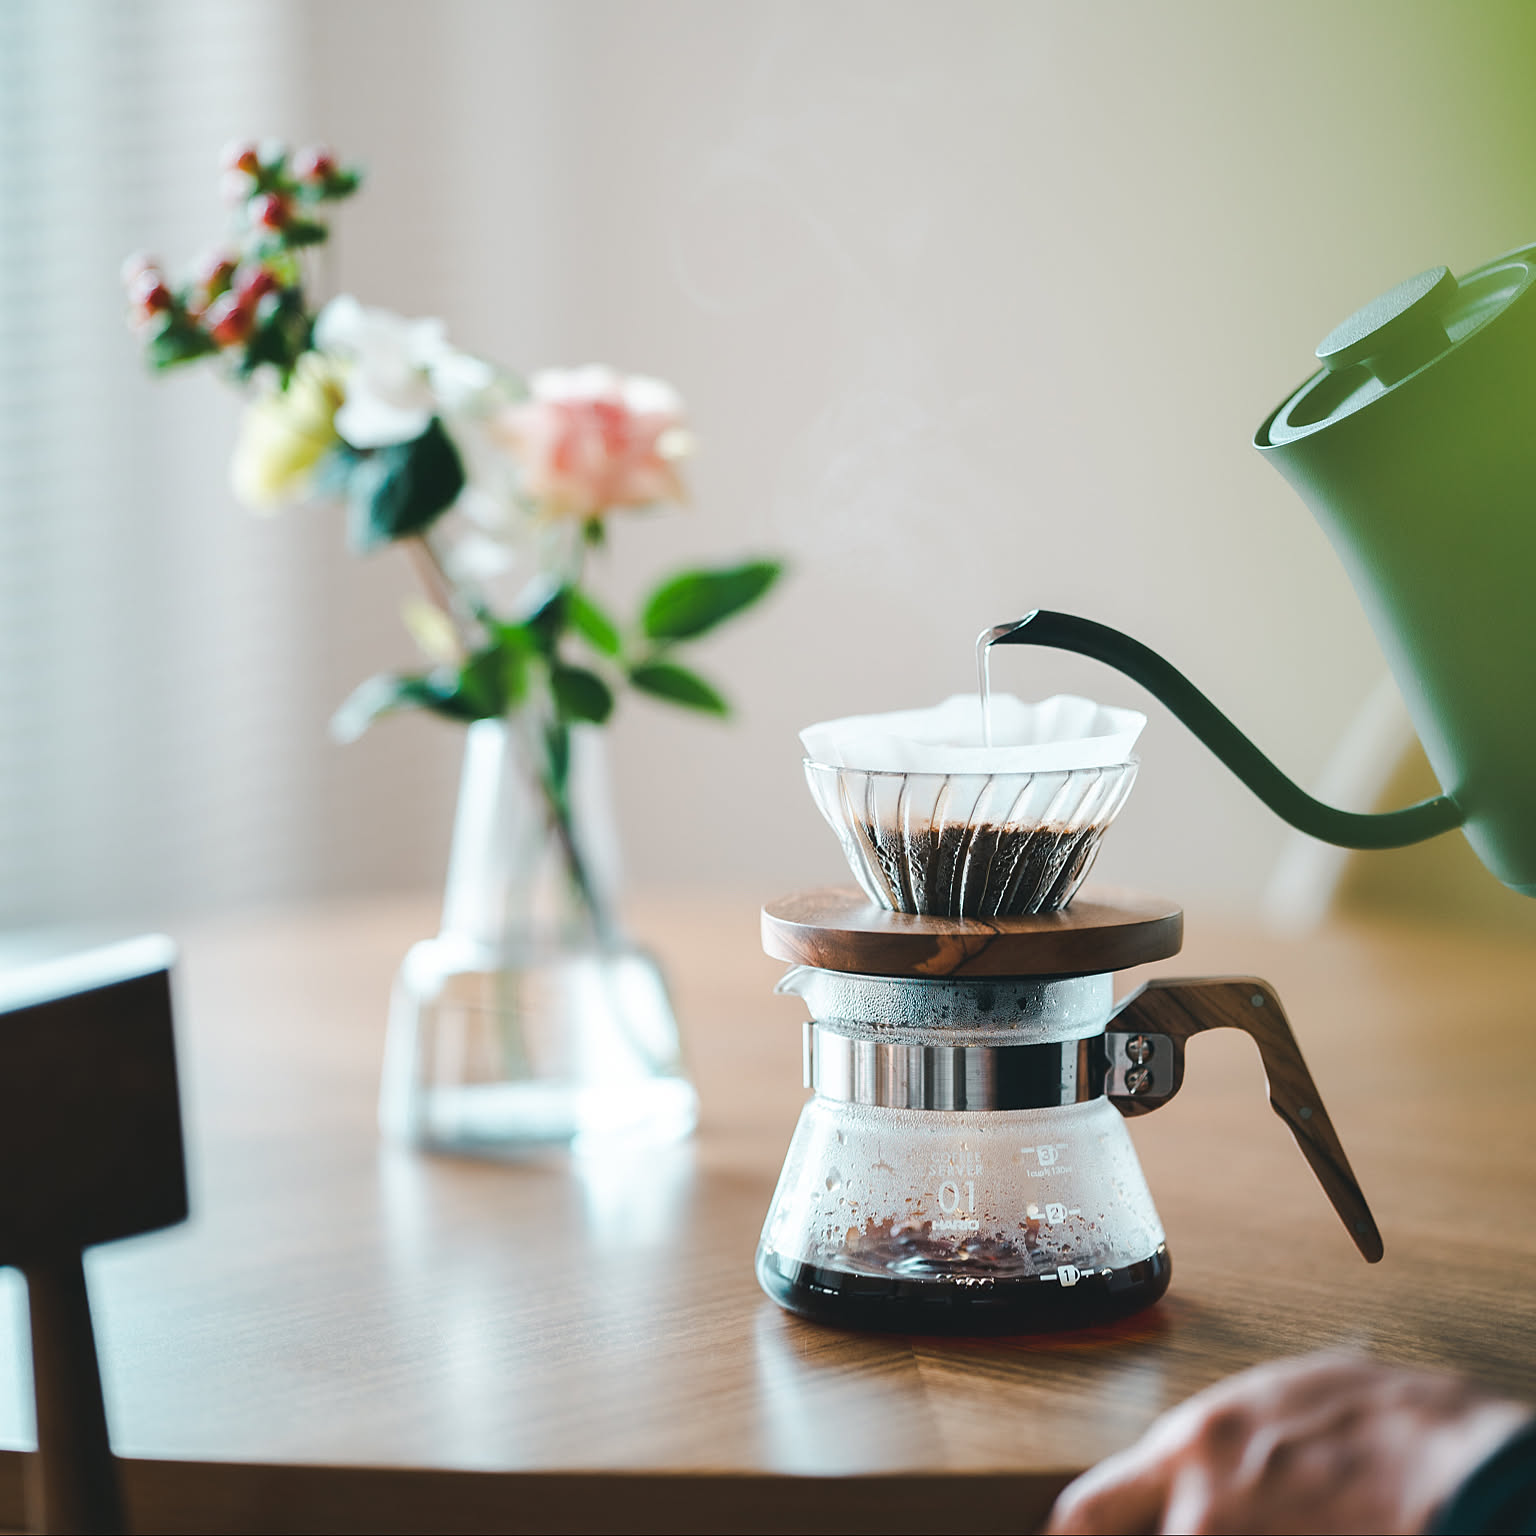
It is also realistic for a small kitchen. A cone, a stack of filters, and a kettle take up less room than a drip machine, and there is no carafe to keep clean or descaling cycle to remember. That makes it a practical fit for a counter that is barely a meter wide.
What you need to start
- A V60 dripper, size 02. Size 02 covers one to four cups, so it grows with you where an 01 does not.
- Paper filters in the same size. An 01 filter folded into an 02 cone collapses in on the coffee and channels.
- A kettle with a narrow spout. A gooseneck is easiest, but any kettle that pours a thin, slow stream will do at first.
- A scale, or a marked server. You need the same dose and the same water volume every morning. A scale is the direct route; a measuring server and a level tablespoon are the cheap one.

Two questions come up before anyone has brewed a single cup: which size, and which material. Size is the one that changes your recipe. Material changes heat retention, weight, and how easily the cone survives being knocked off a counter. Our V60 01 vs 02 guide covers both. Neither choice is worth stalling over: the size 02 in the list above is the safe default, and any material brews the same coffee.
| Spec | Dripper + filters | Kettle | Scale or timer | Server |
|---|---|---|---|---|
| Job | Hold the coffee bed | Heat water and pour | Track dose, water, and time | Collect and serve |
| Keep yours if | You own a V60 and matching papers | It pours a thin, steady stream | The vessel fits and the display stays readable | Your mug holds the whole brew |
| Buy or replace if | You have no cone brewer | Pour control or usable volume limits you | The load, display, or timer is a problem | Your batch outgrows your mug |
| Don't buy it for | Looks alone | Better flavor alone | Better flavor alone | A matching set |
These are four different jobs, not four products to buy in order. Buying nothing for a tool that already works is a valid answer.
What you can skip for now: a burr grinder, a dedicated server, a temperature-control kettle, and a scale that graphs the flow rate. They all help eventually. None of them is why your first cup does or does not taste good.
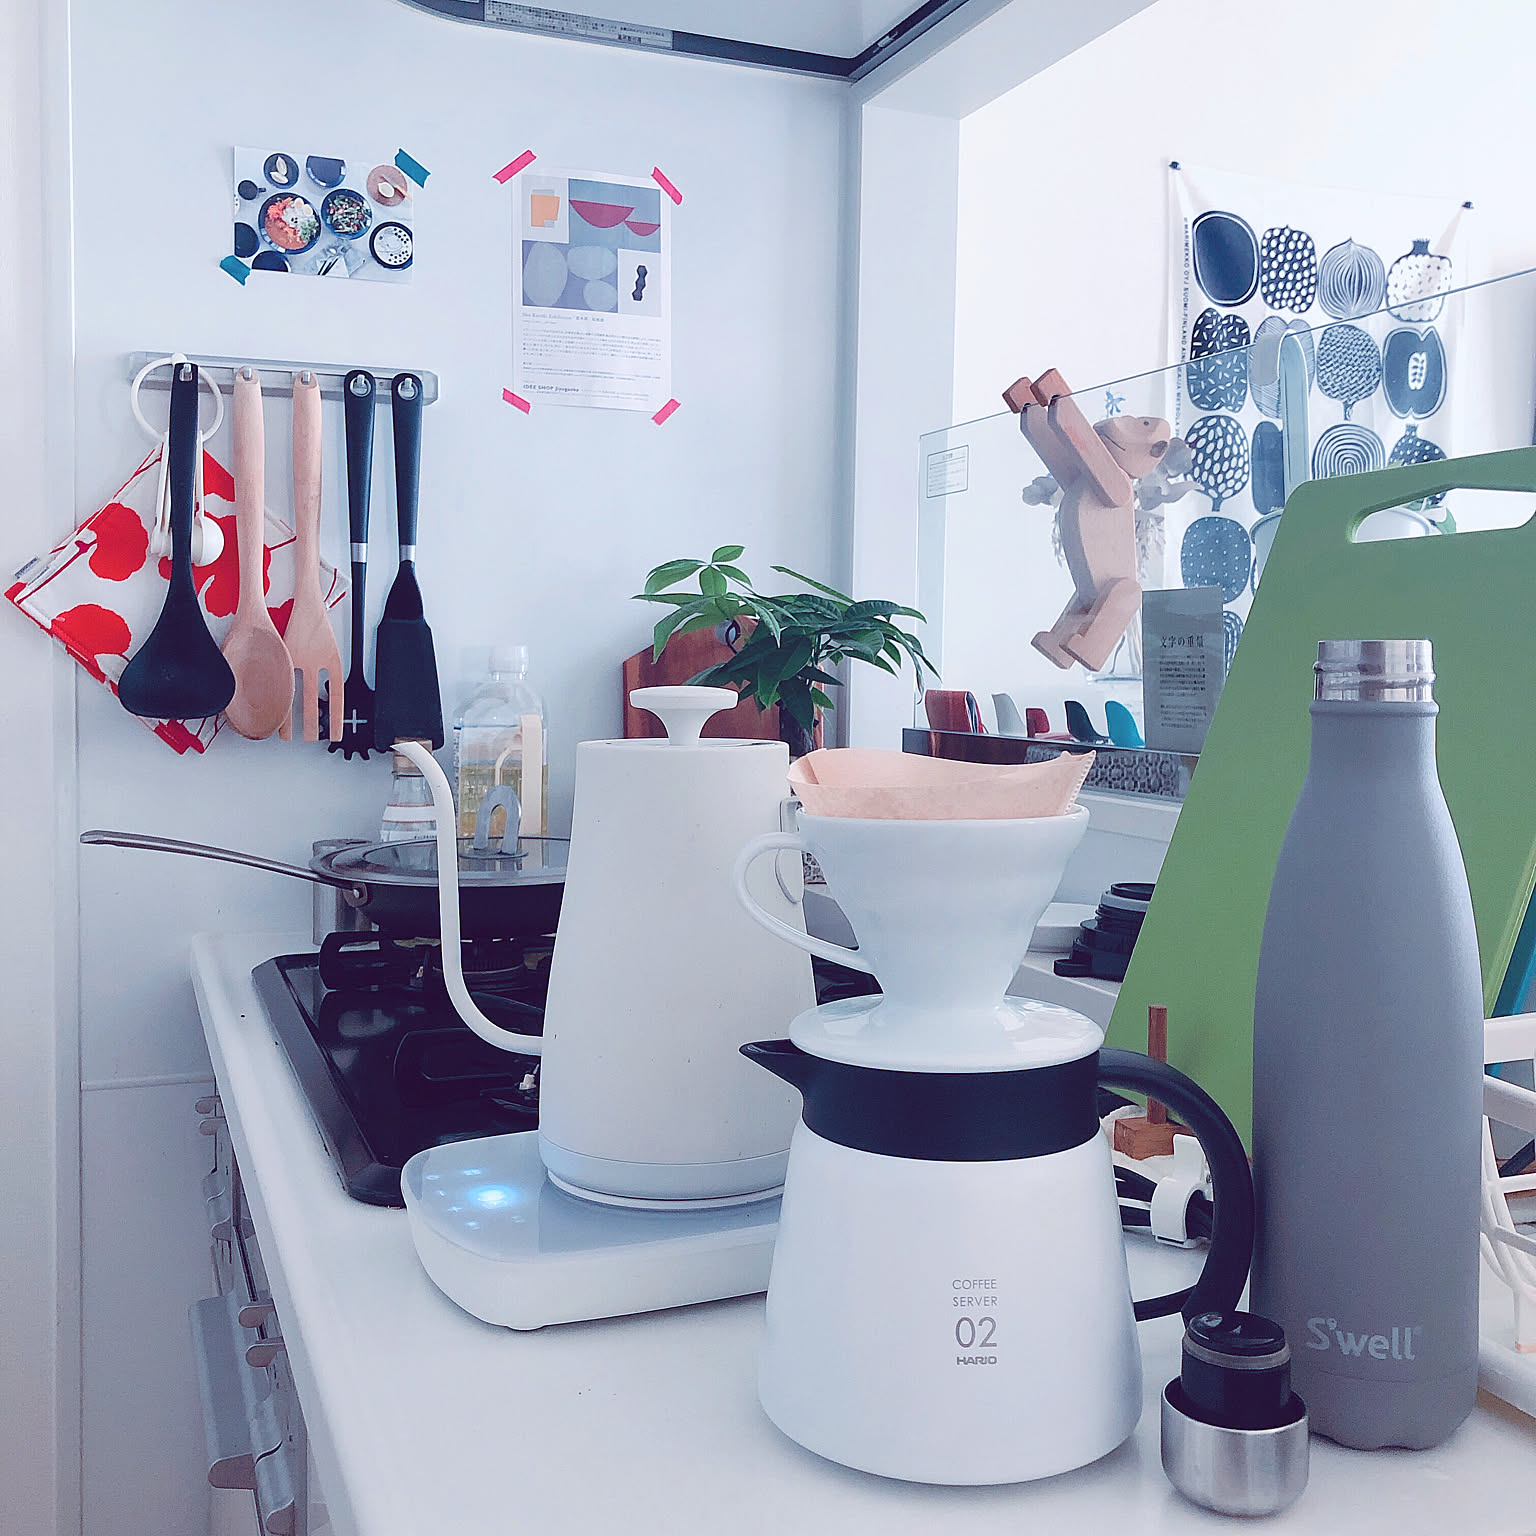
A server only matters when the brew outgrows your mug. If you brew one mug straight into the cup, a server is one more piece of glass to wash and store. If you regularly make the two-mug recipe below, HARIO USA's 600ml Clear Range Server 02 ($29.50) holds that batch. Whatever you brew into, check that the dripper sits on it securely.
Set grind, water, and ratio before you pour
Three numbers decide most of the cup, and two of them you can fix once and forget. Get these settled and the recipe below becomes a routine rather than an experiment.
- Ratio: roughly 1 gram of coffee for every 16 to 17 grams of water. The 15g and 250ml in this guide is that ratio at mug scale. Keep it fixed while you are learning so the grind is the only thing moving.
- Grind: medium-fine, a little finer than table salt. This is the dial you actually turn once the recipe is stable.
- Water: 92-96C (198-205F), and filtered if your tap water tastes of chlorine. Coffee is almost entirely water, and a brew cannot taste cleaner than what you poured into it.

One simple recipe for consistent V60 coffee
- Rinse the filter. Set the paper in the cone and pour hot water through it into the mug or server, then tip that water out. This rinses off the papery taste and warms the brewer so the first pour does not lose heat.
- Bloom. Add the coffee, level the bed, then pour 40ml of water and make sure every dry patch is wet. Wait 30 seconds while the bed swells and releases gas.
- First pour. Bring the total up to about 150ml with a slow spiral, starting at the center and staying off the paper wall.
- Second pour. Add the rest of the water up to 250ml. Keep the stream gentle so the bed stays level instead of being dug into a crater.
- Drawdown. Let it drain, and note the time when the last of the water clears the bed. Around 2 minutes 30 seconds means your grind is in a workable range.

| Spec | One mug (250ml) | Two mugs (500ml) |
|---|---|---|
| Ground coffee | 15 g | 30 g |
| Total water | 250 ml | 500 ml |
| Bloom pour | 40 ml, wait 30 sec | 80 ml, wait 30-45 sec |
| Then pour up to | 150 ml, then 250 ml | 300 ml, then 500 ml |
| Target finish | about 2:30 | about 3:30 |
| Dripper size | 01 or 02 | 02 |
Both columns hold the ratio at roughly 1g of coffee to 16-17g of water. Times are targets to aim at, not rules; adjust the grind before you change anything else.
If the coffee tastes thin and sour, tighten the grind a step. If it tastes harsh, dry, or muddy, coarsen it. Change one thing per brew and keep everything else identical, or you will not know which change did what.
Common mistakes and how to fix them
- The brew finishes well under two minutes: the grind is too coarse, or you poured hard enough to punch a channel through the bed.
- The brew stalls past four minutes: the grind is too fine, or you stirred and agitated enough to pack fines against the paper.
- You skipped the filter rinse: expect a faint papery edge, and a first pour that cools on contact with a cold cone.
- You poured onto the paper wall: water running down the side bypasses the coffee entirely and dilutes the cup.
- You are grinding for the whole week on Sunday: ground coffee goes flat within days. Grind what you are about to brew, or buy smaller bags more often.
Keep your kettle or upgrade?
Ask one question of the kettle you already own: can you direct a thin stream into the coffee bed at the pace you want? If yes, keep it. If pouring is the problem, a gooseneck is the upgrade worth comparing. If heating is the problem, another stovetop kettle leaves it in place.
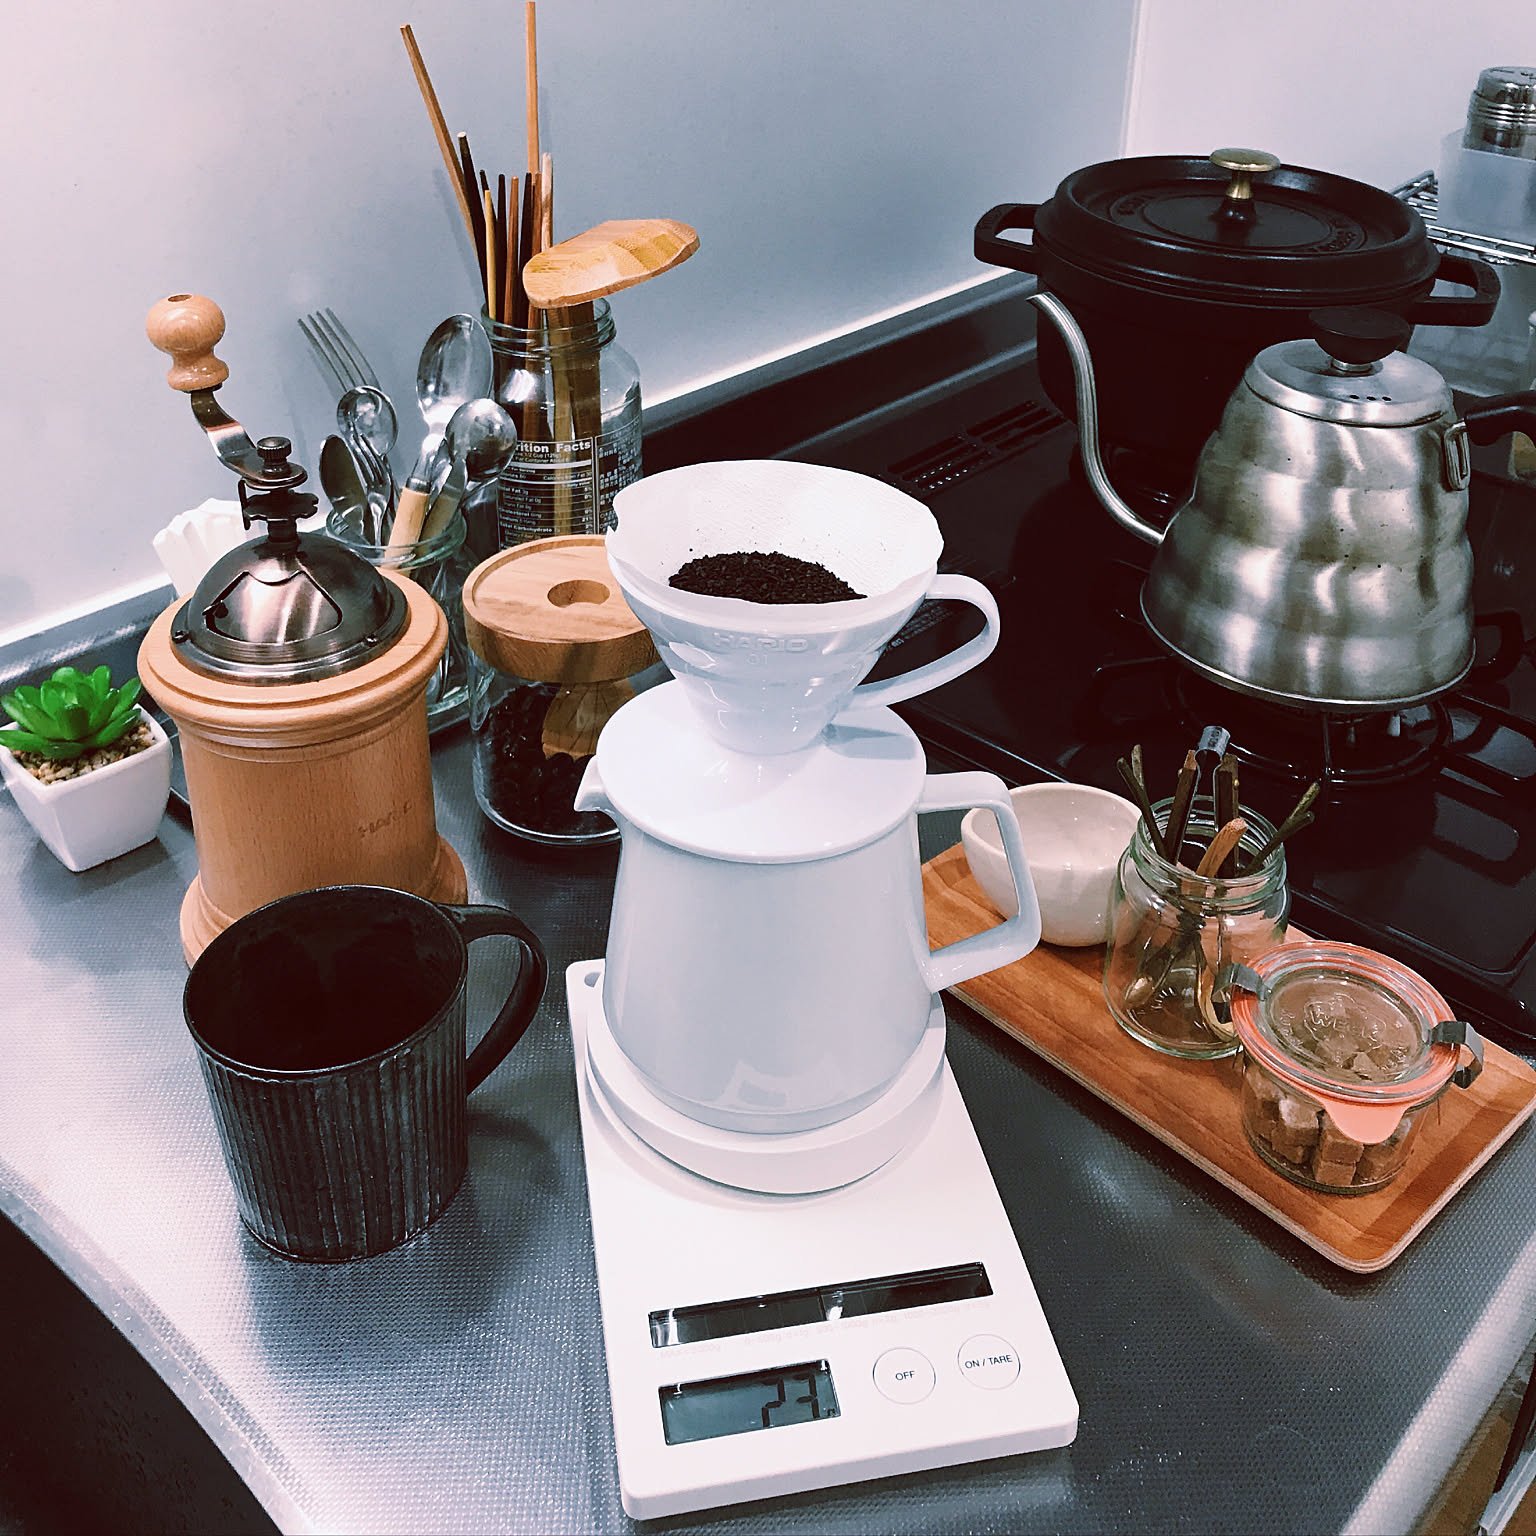
Plan water for the recipe plus the filter rinse. HARIO USA lists the Buono 1L at 600ml of practical capacity ($60) and the 1.2L at 800ml ($65); the names are not the usable fill amounts. The two-mug recipe uses 500ml of brew water, so with about 150ml for rinsing you need roughly 650ml: more than the 1L's practical capacity, within the 1.2L's. For the one-mug recipe, either size works.
Choose a US electric kettle instead if you want a powered base, automatic shutoff, or a temperature setting, and check those functions on the exact model: electric does not automatically mean adjustable temperature. For a stovetop Buono, confirm the exact kettle's approved heat sources against your cooktop before buying.
Check your scale before buying one
Set your empty mug or server on the kitchen scale you already own. It should sit securely and leave the display and buttons visible. Include the dripper and any stand that rests on the scale.
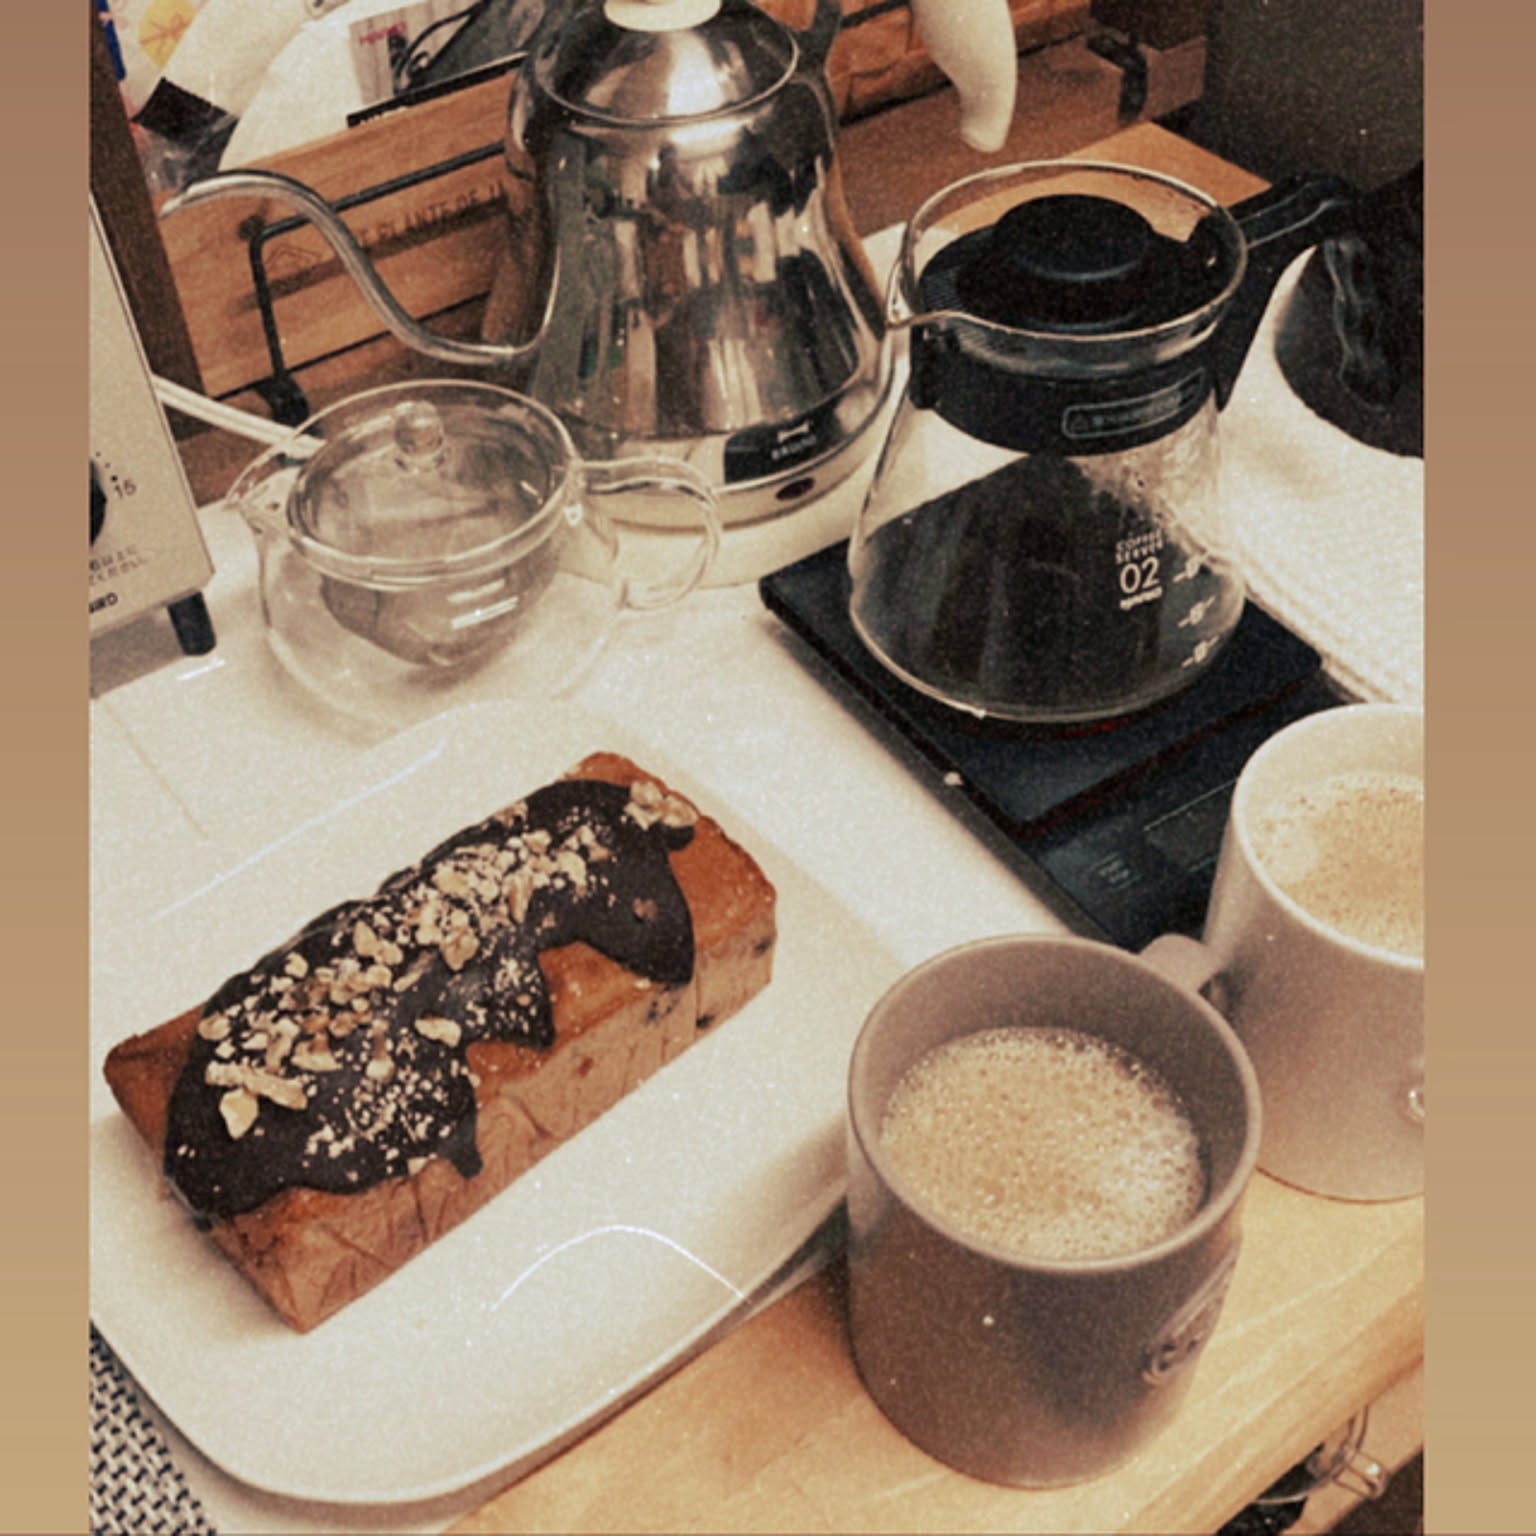
Taring resets the display, not the load. A 650g mug, dripper, and stand plus 500g of water puts about 1,150g on the scale even when the screen started at zero, so compare that total with the scale's maximum. Keep a kitchen scale that handles the load and stays on through the brew, and run a phone timer alongside it.
If you want weight and a timer in one tool, HARIO USA lists the black V60 Drip Scale at $60 with a 2,000g maximum. Its display steps change with the load (0.1g up to 200g, 0.5g up to 500g, 1g above that), and it is not water resistant. It records what you did; it does not make every cup taste the same.
What it costs to start
If your kettle passes the pour check and your kitchen scale handles the load, you only need a dripper and filters. Prices below are from HARIO USA on October 21, 2026, before tax and shipping.
- Dripper and filters only: about $20.50 ($14 for the clear plastic 02, $6.50 for 40 papers).
- Add the Buono 1.2L: about $85.50 in total.
- Add only for a specific limit: the 600ml server ($29.50) or the V60 Drip Scale ($60).
Check storage as well as price. Leave room to lift the brewer, pour, and read the scale, not only the listed dimensions of each piece. Sources: HARIO USA pages for the clear V60 02, 02 papers, Buono 1.2L, Buono 1L, Clear Range Server, and V60 Drip Scale.
The starter kit worth buying
Buy the dripper and filters unless you already have them. Buy the kettle only if the one you own fails the pour check above. None of the three replaces another, so skip only what you already have.
The dripper: Hario V60 plastic, size 02

Hario USA lists the clear 02 plastic cone at $14 ($13 in white or red), rated for one to four cups. It is the least precious version of the V60: light, hard to break, and cheap enough that you will not treat it carefully. It also gives away less heat than ceramic on the first pour, because there is very little material to warm up. The trade-off is that plastic scratches and stains over the years, and it will never look like the ceramic one on a shelf.
The filters: Hario V60 papers, size 02
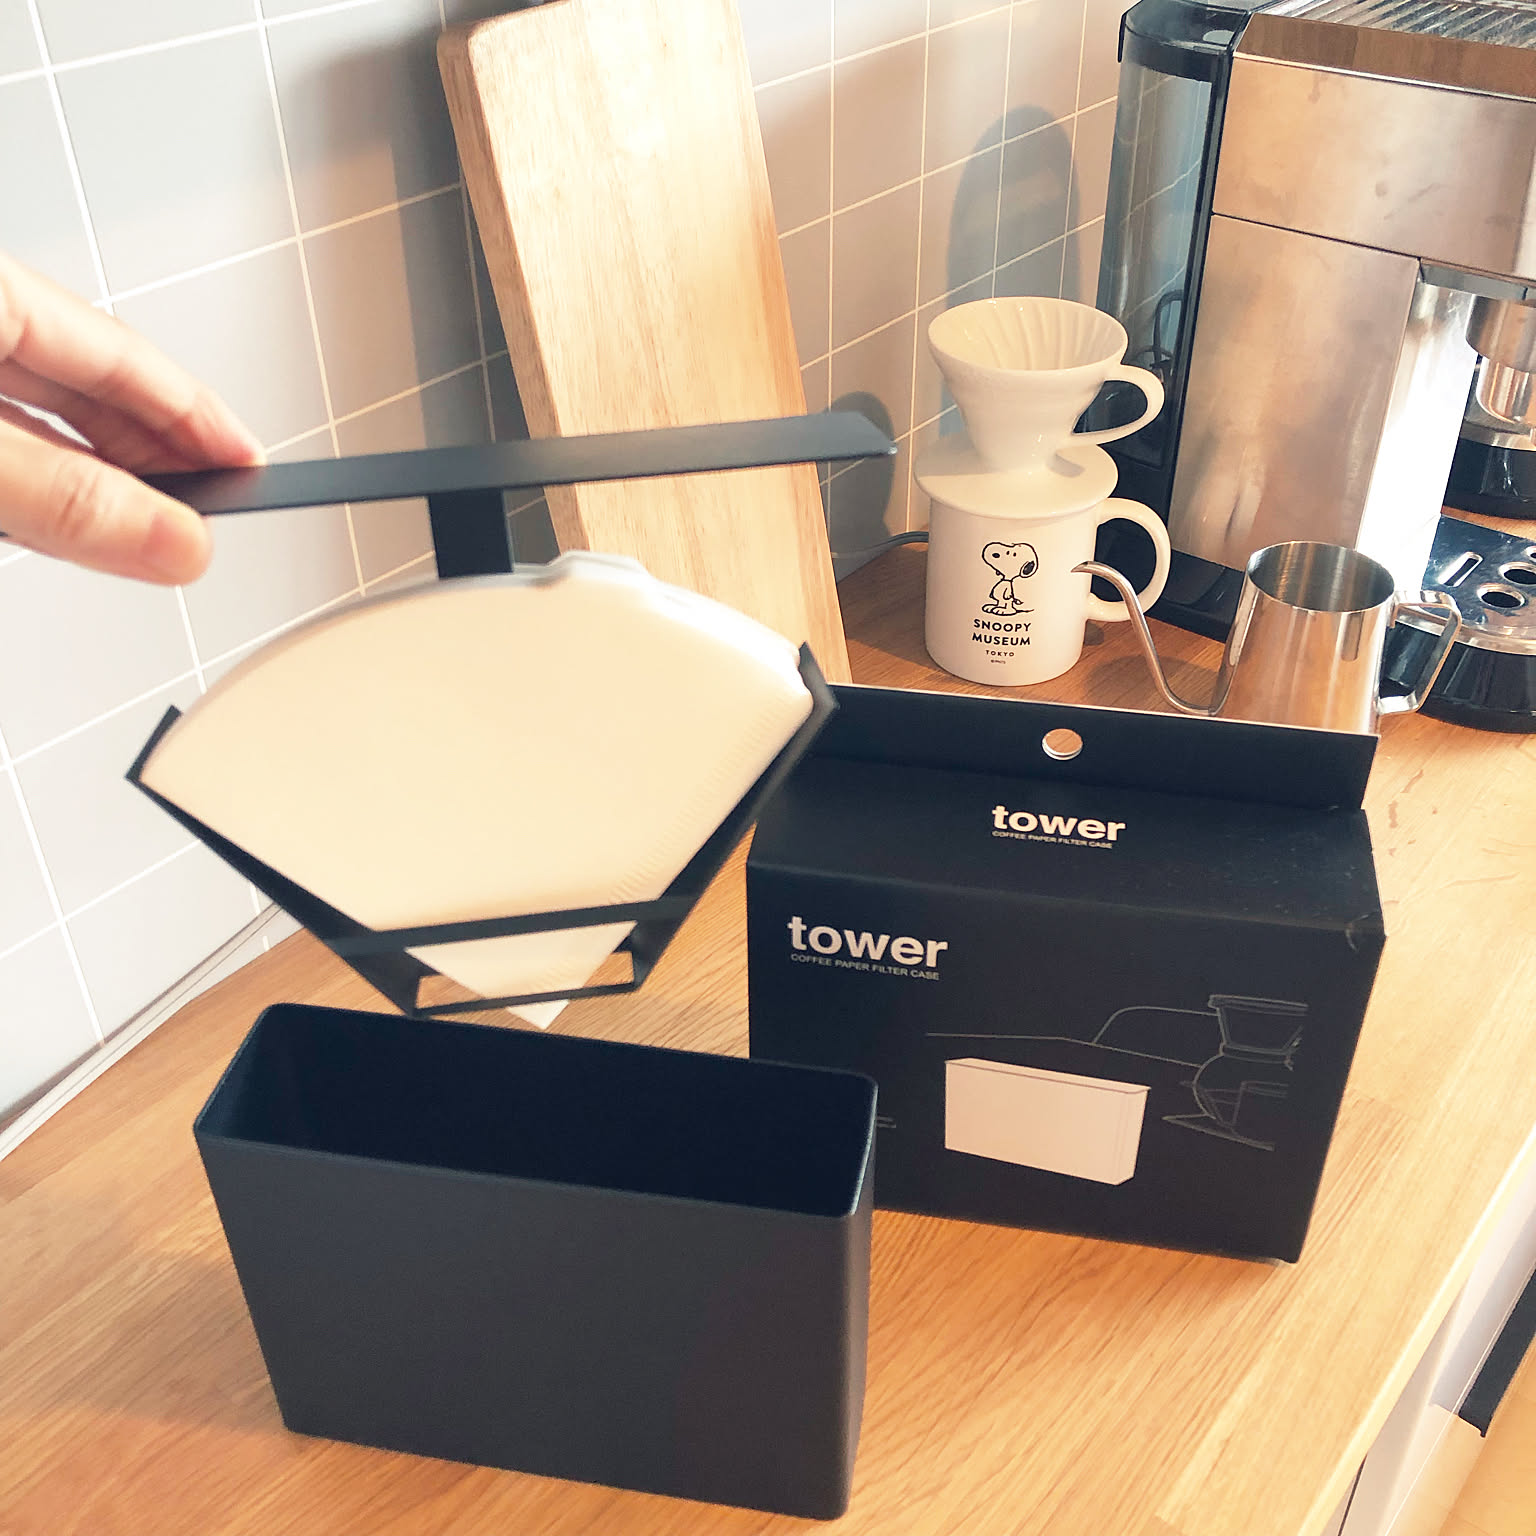
Filters are the one part of this that you buy again, so keep a pack ahead. Hario's own 02 papers start at $6.50, are FSC-certified, and are folded without glue. Buy the size printed on your dripper: the cone geometry only works when the paper reaches the rim. The white and natural brown versions brew the same, though the brown ones are worth rinsing thoroughly.
The kettle: Hario V60 Buono
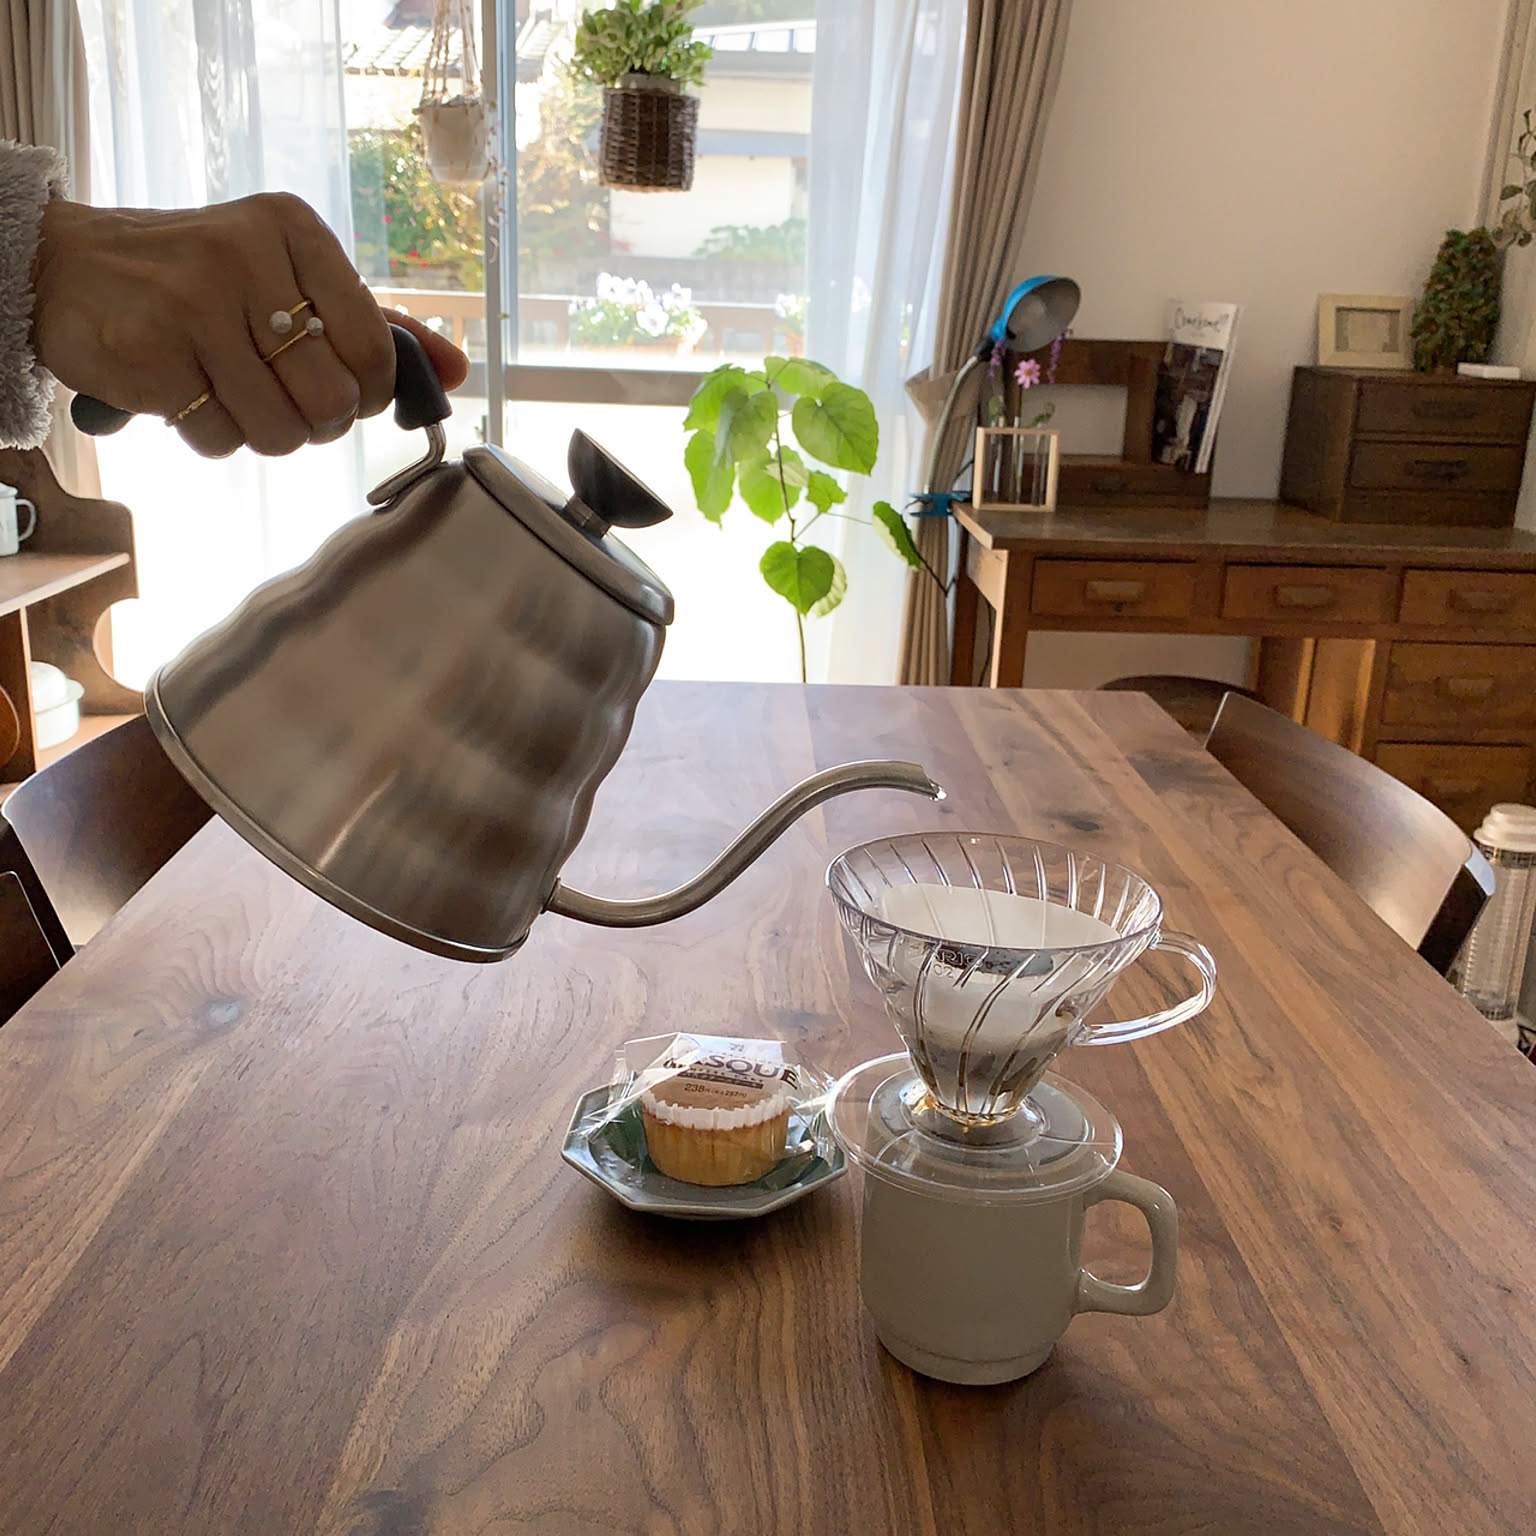
This is the upgrade a beginner feels most. The Buono (model VKB-120HSV, $65.00 on Hario USA) holds 1.2L with about 800ml of working volume, and the long narrow spout lets you place water where you want it instead of flooding the cone. The main drawback is the price relative to the rest of the kit, and the stainless body gives you no idea what temperature the water is; if you want that, a temperature-control kettle is the next step up. Skip it if the kettle you own already pours a thin, steady stream.
How Japanese homes set up coffee corners
One habit worth copying from Japanese kitchens: the gear lives together in one small zone instead of being spread across three cupboards. A narrow wall shelf, the end of a counter, or a single tray is enough, and it matters more than it sounds. A setup you have to assemble each morning is a setup you stop using by Thursday.
Two versions of the same idea: everything for one drink, within arm's reach.
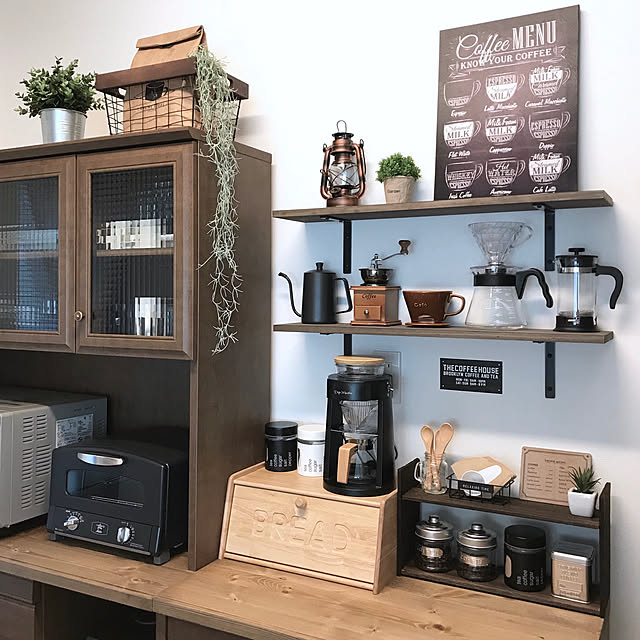
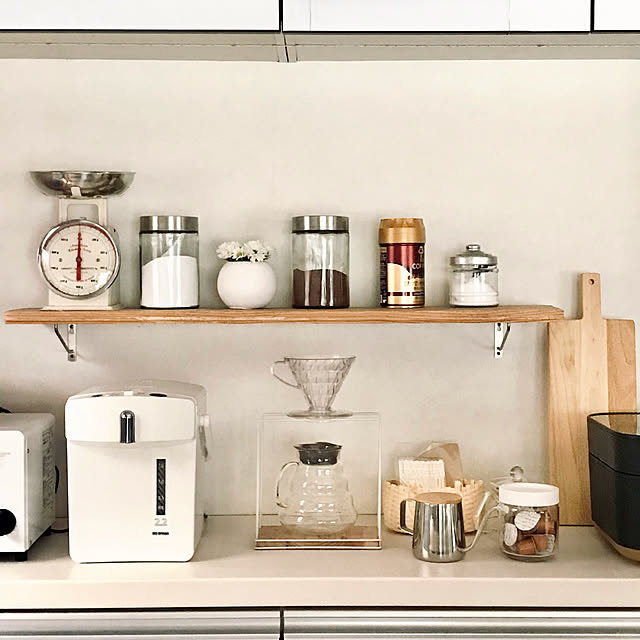
If you want to build one properly, we have a longer walkthrough of small-kitchen coffee station setups.
Frequently asked questions
What grind size should I use for V60?
Do I need a coffee scale to brew with a V60?
When should I skip the HARIO Buono for an electric kettle?
Do I need a 600ml HARIO server for a V60?
Can I use pre-ground supermarket coffee in a V60?
Should I start with a V60 or a French press?
Bottom line
The V60 works because it stays simple. Fix the ratio at 15g to 250ml, keep the water just off the boil, grind medium-fine, and pour slowly enough that the bed stays flat. Once that is repeatable, the only thing left to change is the grind, and that is the whole skill.
Ready to buy?
Hario
Hario V60 Plastic Dripper (02, Clear)
$ ($14 clear at Hario USA)
Verify specifications with the manufacturer · Checked 2026-10-21
Hario
Hario V60 Paper Filters (02, 100ct)
$ (from $6.50 at Hario USA)
Check Price on AmazonVerify specifications with the manufacturer · Checked 2026-10-21
Hario
Hario V60 Buono Drip Kettle (1.2L, Silver)
$$ ($65.00 at Hario USA)
Check Price on AmazonVerify specifications with the manufacturer · Checked 2026-10-21
by Japanese Home Goods Editorial
RoomClip usage context, manufacturer specifications, and US-market availability are reviewed by the Japanese Home Goods editorial team. We do not claim hands-on testing unless an article explicitly says so.
Related Articles

Which Hario V60 to Buy: 01 vs 02, and Plastic, Ceramic, or Glass
Choose the Hario V60 01 for a repeatable 250 g water recipe and the 02 for larger or changing doses. For material, plastic is the practical default; ceramic and glass suit a dripper that stays out.

Small Kitchen Coffee Station Ideas: Arrange the Tools You Own
Choose what stays on the counter, what comes down from a shelf, and where wet tools go after brewing. These Japanese home examples help you arrange a small coffee station with the gear you already own, and measure before you buy more.