How to Cook Brown Rice in a Japanese Rice Cooker
Brown rice needs more water, more time, and a little more patience than white rice. Here is how to get better texture in a Japanese rice cooker, even if your model does not have a dedicated brown rice setting.

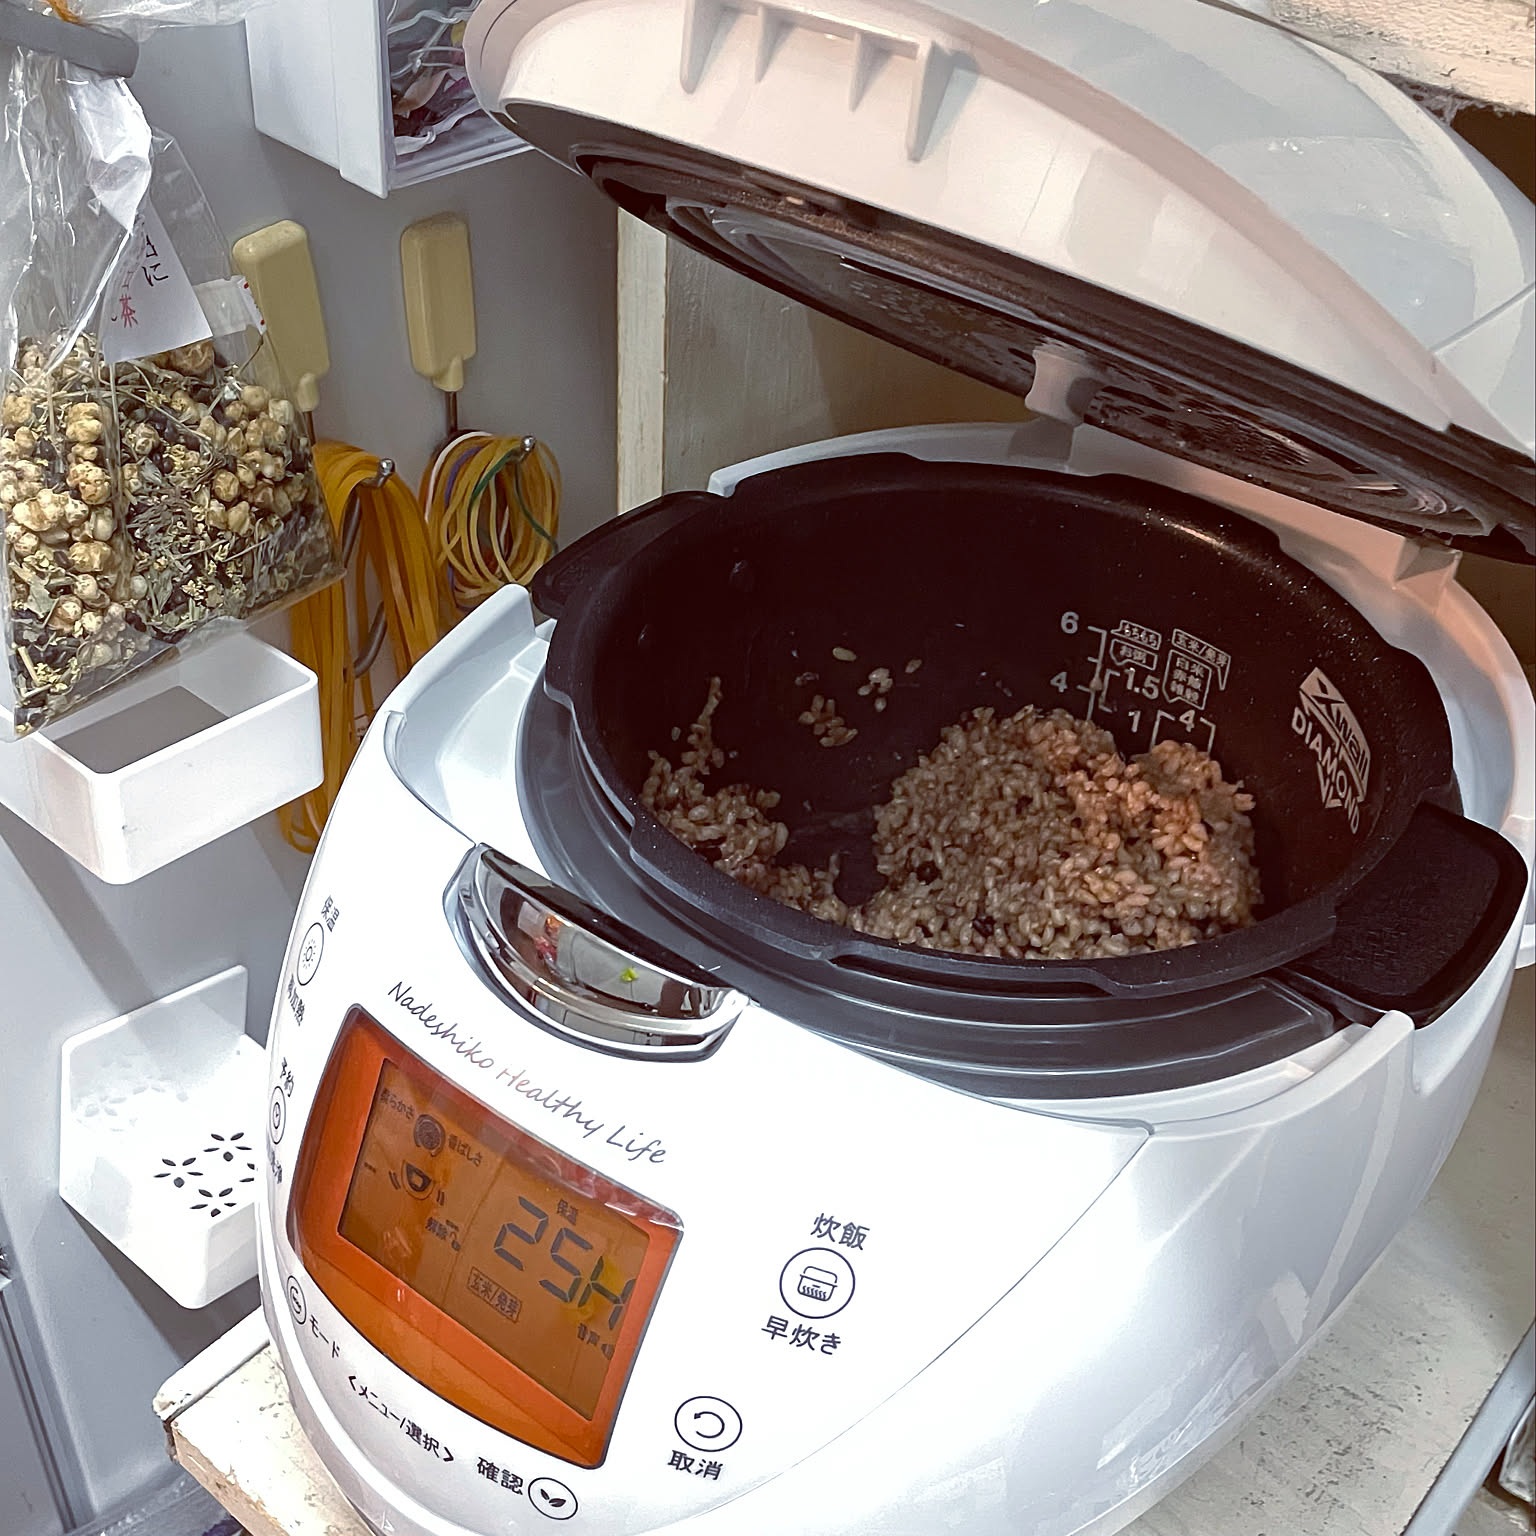
Quick answer: use the brown rice mode if you have it
If your Japanese rice cooker has a brown rice setting, use it. Brown rice usually needs more water, more time, and a longer gentle finish than white rice. The dedicated mode is built to handle that without forcing you to guess every step.
If your cooker does not have that setting, you can still get good results, but you need to be more intentional about soak time, water level, and the way you judge the finished texture.
If you want the background on cooker sizes, settings, and the difference between micom and IH, start with Japanese Rice Cookers Explained.
Why brown rice cooks differently from white rice
White rice cooks faster because the bran and germ have already been removed. Brown rice keeps those outer layers, which means the grain stays more intact and resists water for longer. That is why the same time-and-water logic you use for white rice often leaves brown rice too firm in the center.
- More water: The grain needs more moisture to soften all the way through.
- More time: The cooker needs a longer cycle or a longer soak to get the center tender.
- More consistency: Small changes in water level matter more than they do with white rice.
Before you start
A good batch of brown rice starts before you press the button. The main job is to remove obvious dust, choose the right water level, and avoid improvising too many variables at once.
- Rinse lightly: Wash the grains just enough to clear surface dust, not until the water looks perfectly blank.
- Check the mode first: Brown rice mode is best; mixed grain is the second-best fallback if your model offers it.
- Use the right line: Choose the brown rice line in the inner pot when it exists, not the white rice line.
- Decide on soaking once: If you are testing a new cooker, keep the soak time consistent for a few batches so you can actually compare results.
Step by step
The easiest way to improve texture is to keep the process boring and repeatable. Change one thing only after you know what your baseline result looks like.
- Measure the rice: Use the cup that came with the cooker or another consistent rice measure.
- Rinse lightly: Swirl and drain a few times to remove dust without obsessing over perfectly clear water.
- Soak if needed: If your cooker has no brown rice mode, a 30 to 60 minute soak usually helps.
- Set the water level: Use the brown rice line in the pot, or add a little more water than you would for white rice if you are using a fallback mode.
- Cook on brown rice mode: If that is not available, use mixed grain or white rice mode only as a fallback.
- Rest, then fluff: Let the rice sit for about 10 minutes after the cooker finishes, then fluff it gently with a cutting motion.
If your cooker has no brown rice mode
This is where most misses happen. A white rice cycle can still work, but you need to help it. Soak longer, be conservative with batch size, and expect the first batch or two to be calibration runs rather than perfect bowls.
- Choose a smaller batch: The cooker has an easier time heating evenly when you do not push capacity.
- Soak longer: Thirty to sixty minutes is a practical starting point if you have no dedicated mode.
- Expect one correction batch: If the center stays too firm, the next adjustment is usually more water or more soak time, not both at the same time.
Common problems and the fix that usually works
Brown rice problems are usually easier to diagnose than people think. Most batches miss for the same few reasons: not enough water, not enough time, or too many variables changed at once.
- Hard center: Increase soak time first, or add a little more water on the next batch if you already soaked it.
- Too wet or heavy: You may have overshot the water line or opened the cooker before the rest period was finished.
- Uneven texture: Check whether the rice was measured consistently and whether you filled to the correct inner-pot line.
If you are shopping for a compact model that handles grain settings better than a basic starter cooker, the most relevant follow-up is Best 3-Cup Rice Cookers for Small Kitchens.
What to do with leftovers
Brown rice is even less rewarding than white rice when it sits around carelessly. If you are not eating it soon, portion it while it is still warm and move it toward the freezer instead of hoping the pot or the fridge will keep the texture pleasant.
- Best texture move: Freeze one-meal portions while the rice is still warm.
- Short-term backup: The fridge is fine if the rice is waiting only for the next meal or two.
- Reheat fully: Microwave until the center is fully hot, not just the edges.
For the full storage and reheating workflow, see How Japanese Homes Store Cooked Rice.
FAQ
Frequently Asked Questions
Do you need to soak brown rice before cooking it?
Does brown rice need more water than white rice?
Can you cook brown rice on white rice mode?
Should leftover brown rice go in the fridge or freezer?
Bottom line
Good brown rice in a Japanese rice cooker is mostly about respecting what the grain needs: a little more water, a little more time, and a repeatable routine. Use the brown rice mode when you have it, make one adjustment at a time when you do not, and freeze extra portions early if you want the leftovers to stay worth eating.
Related Articles

Japanese Rice Cookers Explained: Sizes, Settings, and Daily Use
A complete guide to Japanese rice cookers: how sizes translate from go to cups, what the key settings actually do, and how rice cookers fit into daily routines in Japanese homes.

Best 3-Cup Rice Cookers for Small Kitchens and Two-Person Homes
A compact 3-cup rice cooker is the small daily-appliance sweet spot for one or two people. These Japanese-brand picks focus on daily rice, brown rice, and kitchens where ultra-mini is too limiting.

How Japanese Homes Store Cooked Rice (Fridge vs Freezer)
In many Japanese homes, cooked rice goes to the freezer, not the fridge. Here is when each method makes sense, how to portion rice while it is still hot, and how to reheat it without drying it out.